A while ago in “Manual PCB milling” I revealed my plan about Proxxon micro-mill MF70 CNC conversion. After months of assembling, tear down and re-assembling, the first working system is up. I know it is not in the order but I just cannot help to put the video at the top.
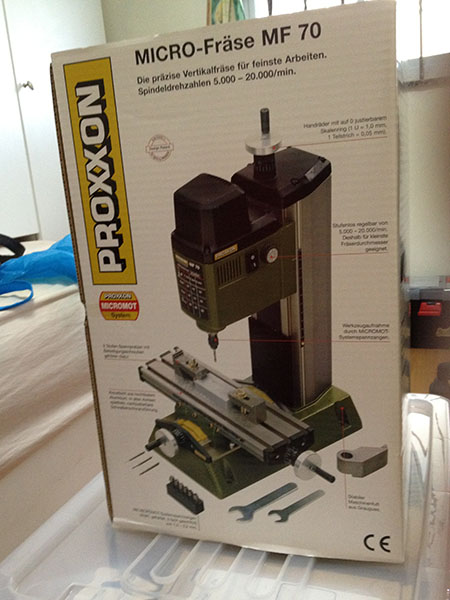
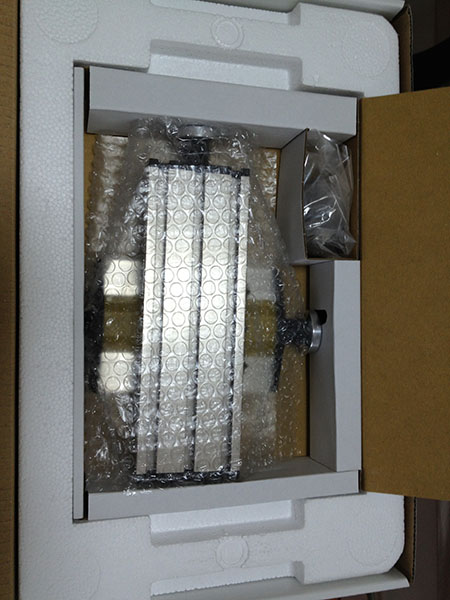
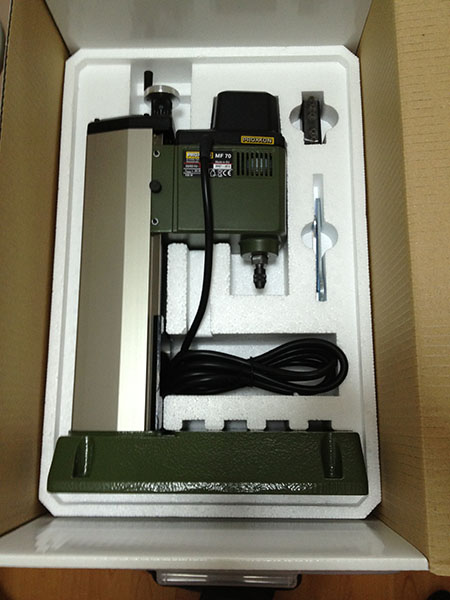
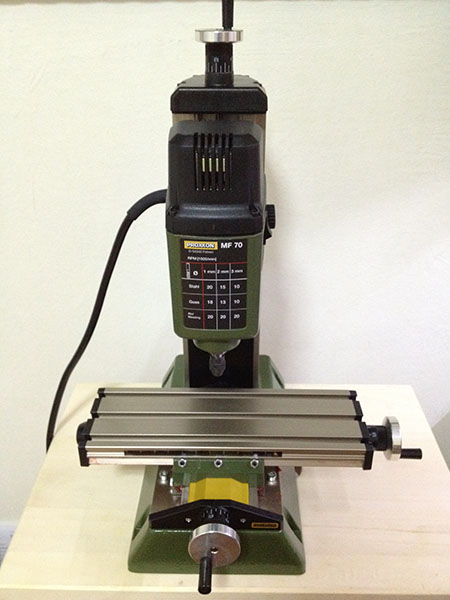
Back in time, these were the memorable photos when the MF70 was first purchased and unboxed.
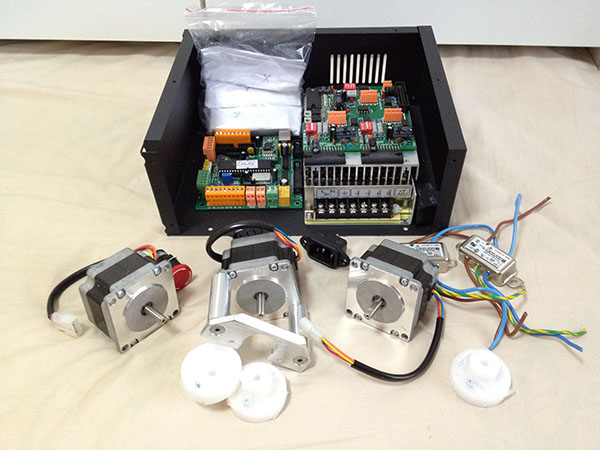
My BOM also includes:
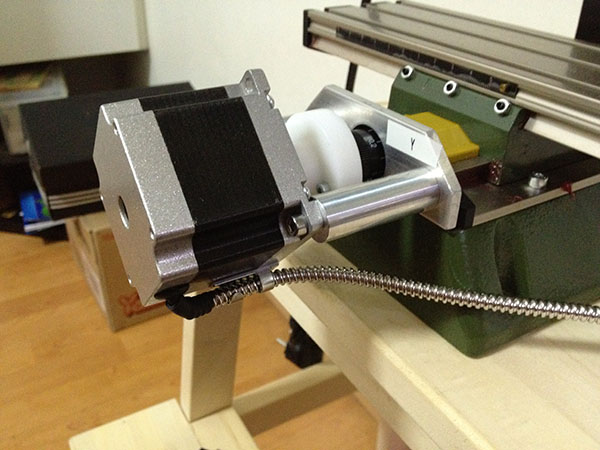
- A set of step motor frames and connectivity kit from eBay seller mbbilici. I compared quite a number of designs and settled with this one. The major advantage is that this set does not require permanent modifications to the MF70 body, especially the X-Y lead screw. I can easily revert MF70 back to its original state in case of warranty claims.
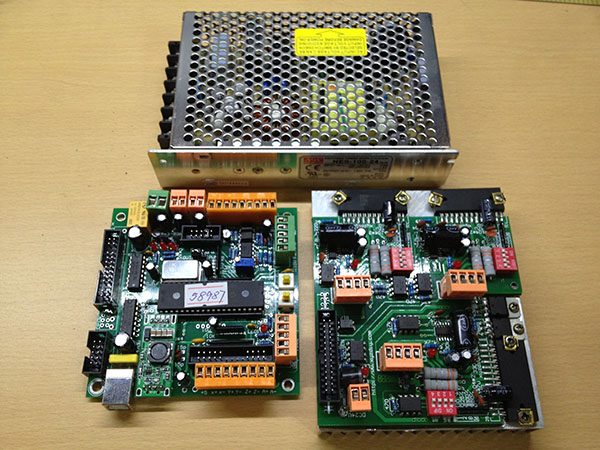
- A USB control board, from a Chinese seller. It is a derived version of planet-cnc’s open source Mk1 DIY controller. The seller added a DC-DC buck-boost regulator in USB 5V power rail to cater for voltage drop. I actually doubt it’s necessity but it is definitely better-than-nothing.
- A 3-way stepper motor driver from the same Chinese seller. The driver board contains 3 Toshiba TB6560 controllers, each provides 3A maximum driving current, more than adequate for my application.
- A Meanwell 24V/100W switch mode power supply.
- 3 step motors (Moons 23HS0410-01). Unfortunately I burned one of the them during testing. And I fixed it by buying another three (Sumtor 57HS5106A4, 0.62A/1.1Nm) 😉

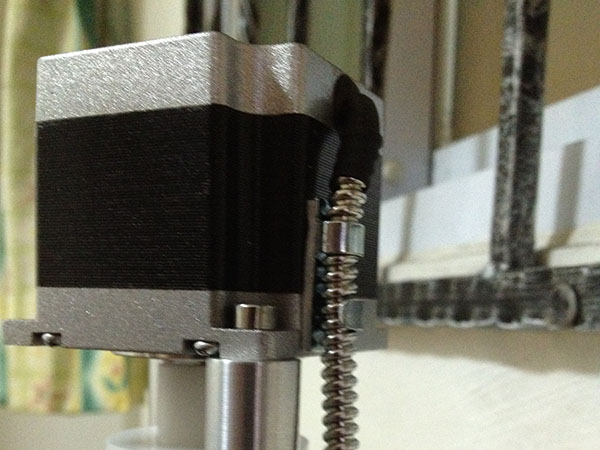
Here are the controller and CNC body after assembling. Every single effort goes into the design of proper chassis.
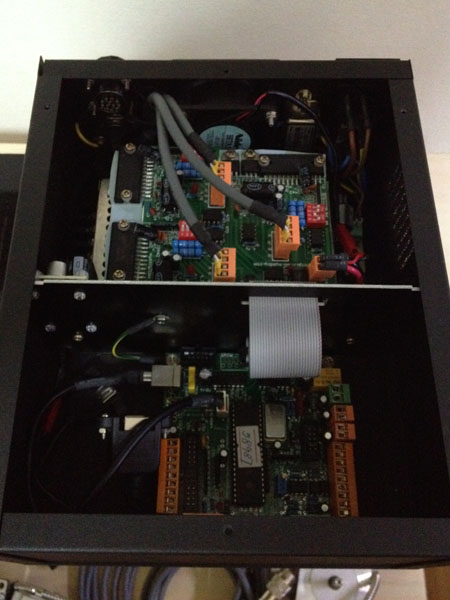
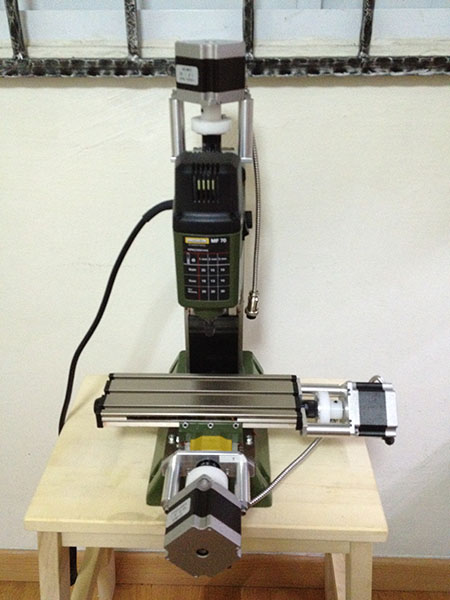
It also took me nearly a month to wire up the motors, mainly to source for proper connectors and strain relief methods for the flimsy cables. I finally settled with 4mm stainless steel flex-tube, which is amazingly strong yet flexible. And most importantly, it looks really cool!

First cut was on a piece of 2mm thick clear acrylic. I took the sample DXF file from PlanetCNC software and loaded it into CamBam to create G-code. Murphy didn’t catch me this time, everything (just) worked at the first attempt.
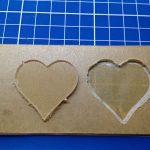
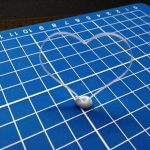

The heart belongs to my dear wife. Thanks as always for her support ♥
P.S. During the early testing stage I encountered some USB communication issues. I kinda found the culprit but did not fully figured out the underlying reason. It may deserve another blog post once I fully discovered it.
P.S.2 The machine is not fully finished yet. I plan to make a nice front panel and possibly add a manual jogging controller. But now with CNC it could be much fun…
Could you share which chinese seller and estimated prices for controller board and motors?
You can find the product here: http://item.taobao.com/item.htm?spm=0.0.0.59.uau5rc&id=7782653642
Be warned it is listed as “counterfeits” by planet-cnc: http://forum.planet-cnc.com/viewtopic.php?f=2&t=520
But I think the controller is based on planet-cnc’s DIY schematic so nothing to complain.
Motors here: http://item.taobao.com/item.htm?spm=a1z0d.1.1000638.4.395348&id=13798527287
Hey there,
we’re building a CNC mill as a project in school. It’s going good so far, but I’m puzzled about how to get off the cranks and how you’ve mount the stepper motors on the MF 70.
It would be awesome if you could share some tips or even sketches!
Thank’s in Advice
Hi,
I bought the kit from eBay seller “mbbilici”. It is not cheap but gives a “reversible” modification to the MF70 so I can still enjoy warranty.
If you search for “MF70 conversion plan” you should see many other designs and drawings.
Thanks for visiting my blog 🙂
I tried adding Smoothieboard to my CNC and ran into a lot of problems. I cant find a proper workflow to convert from DXF file to Gcode. Also, the Smoothieboard seem to get the steps/mm all wrong.